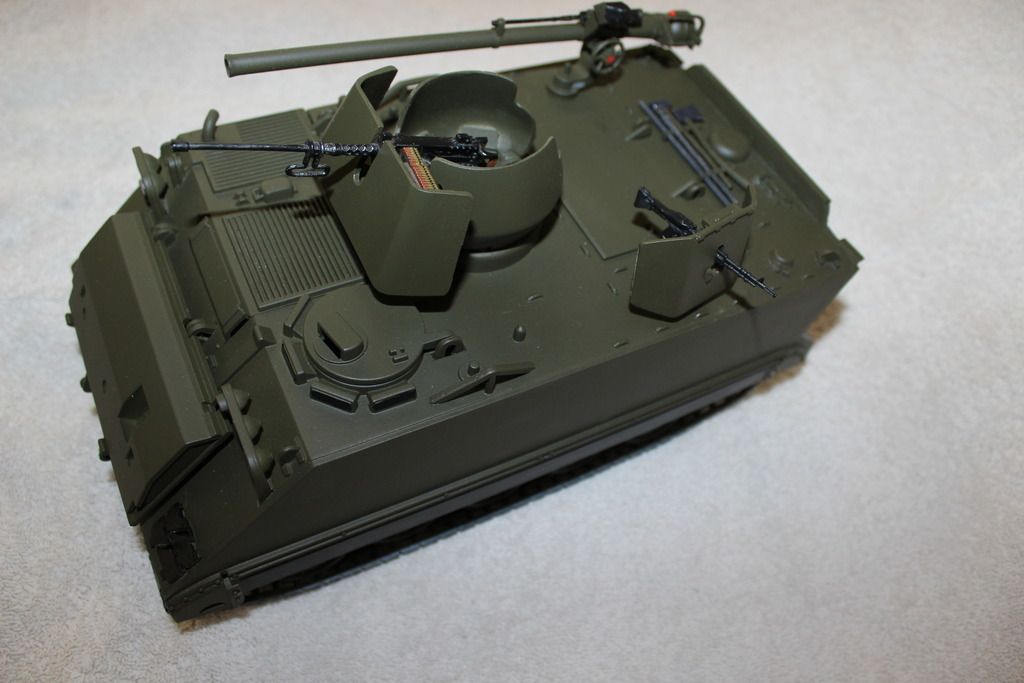
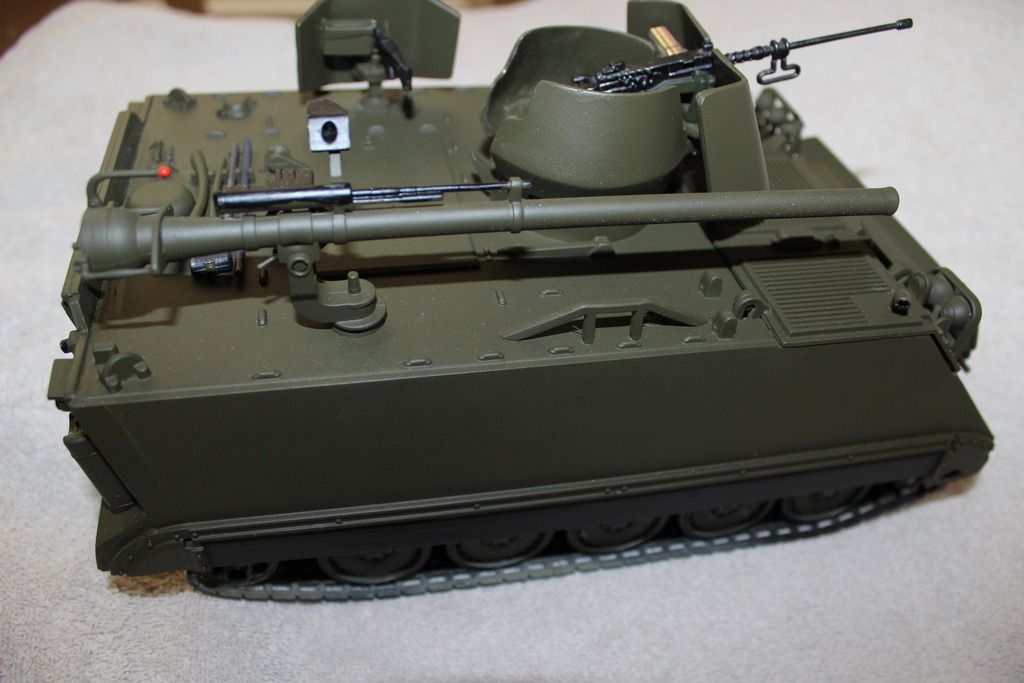
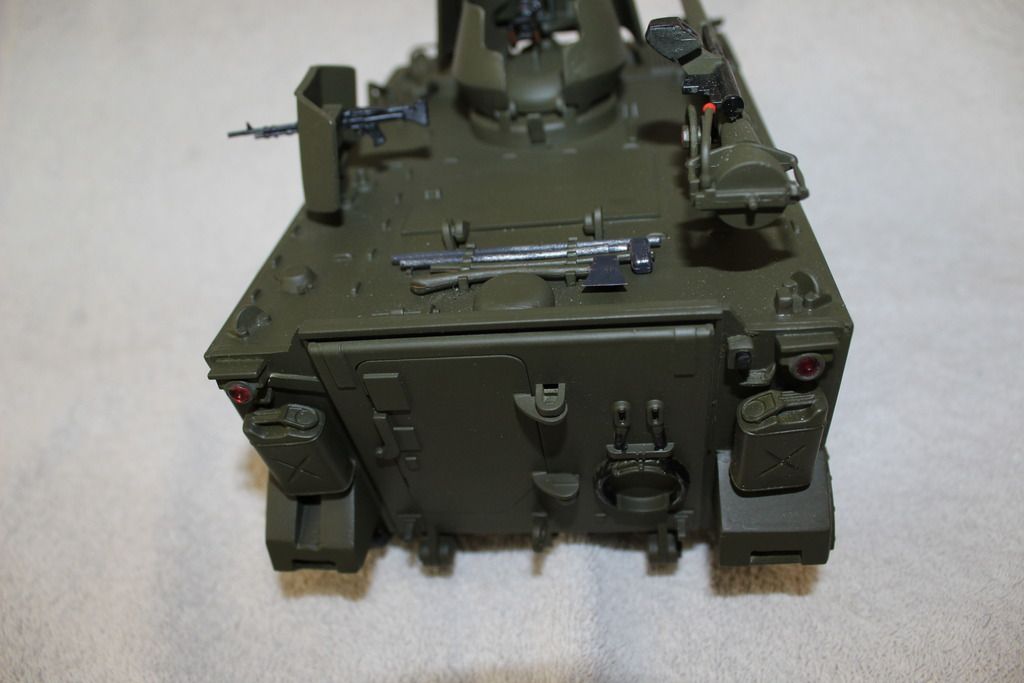
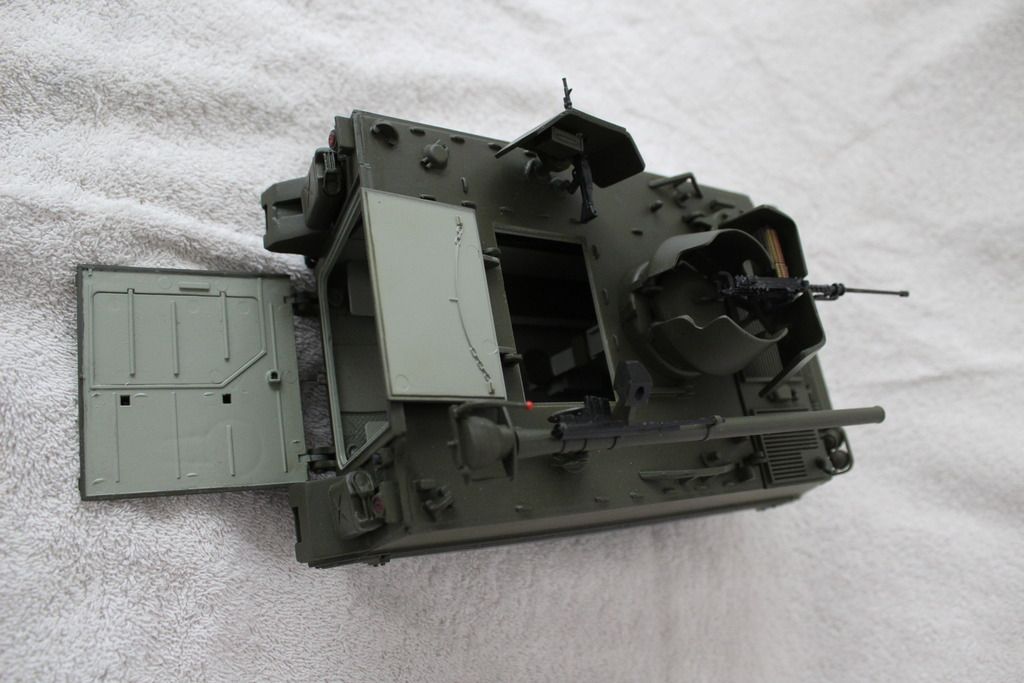
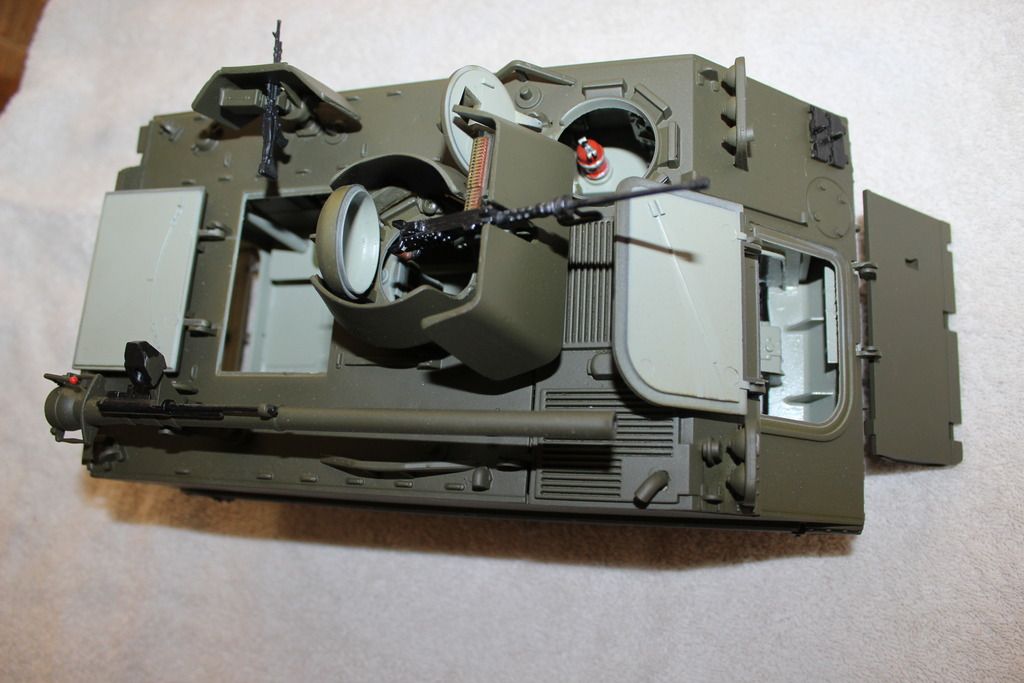
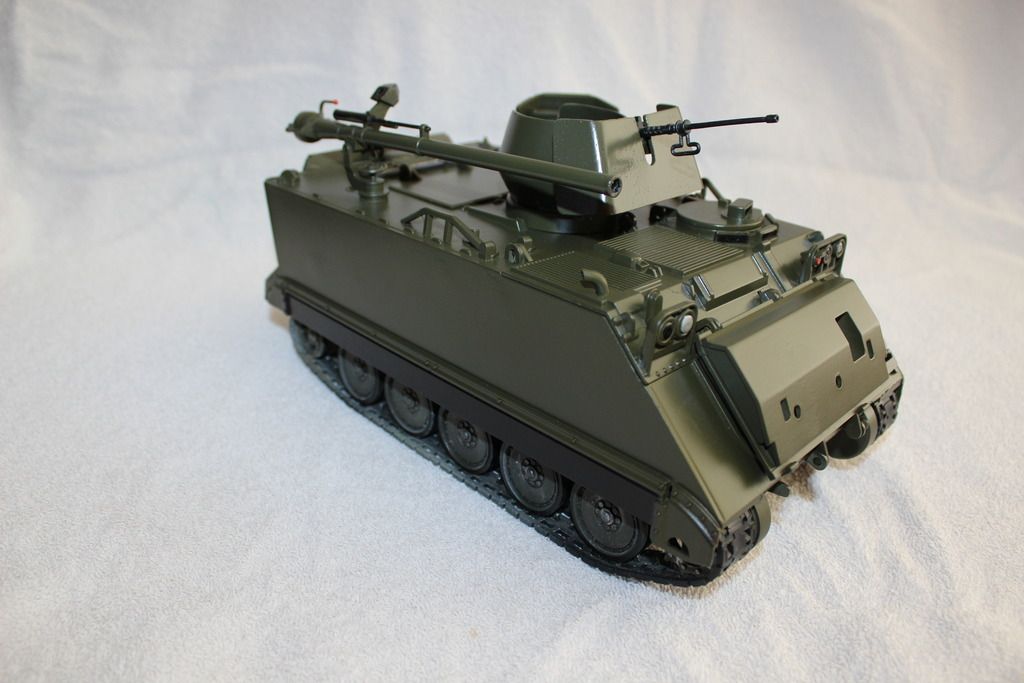
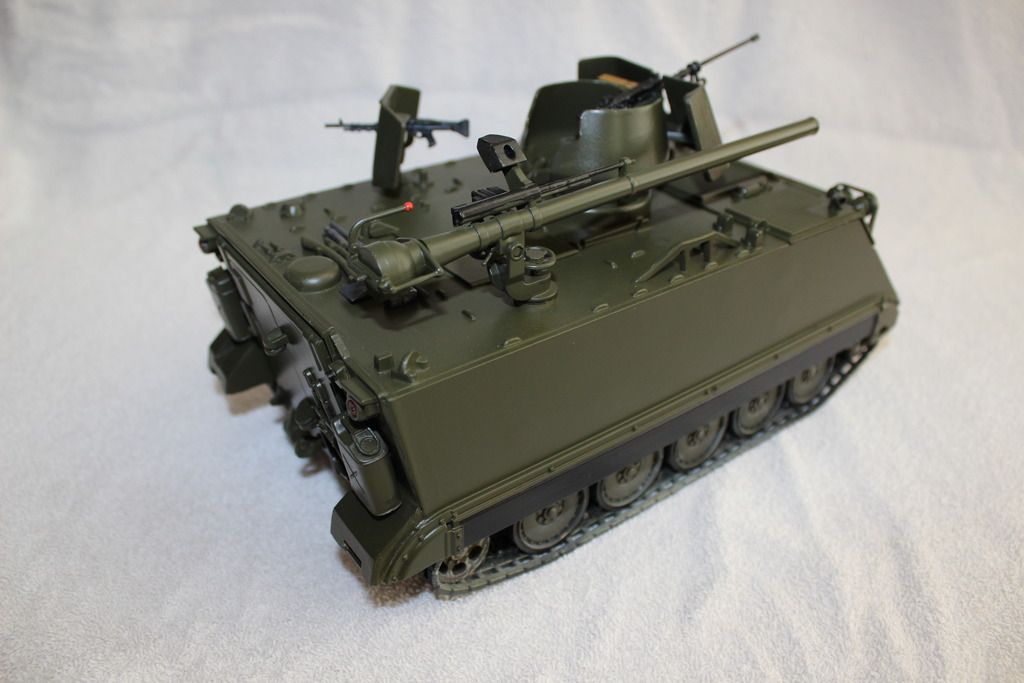
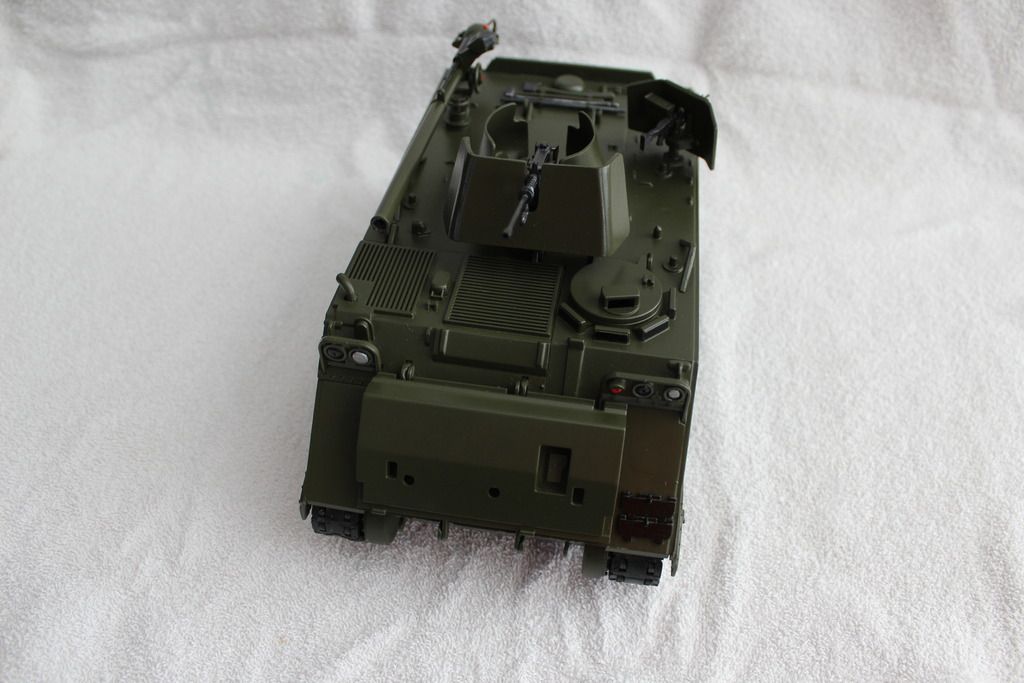
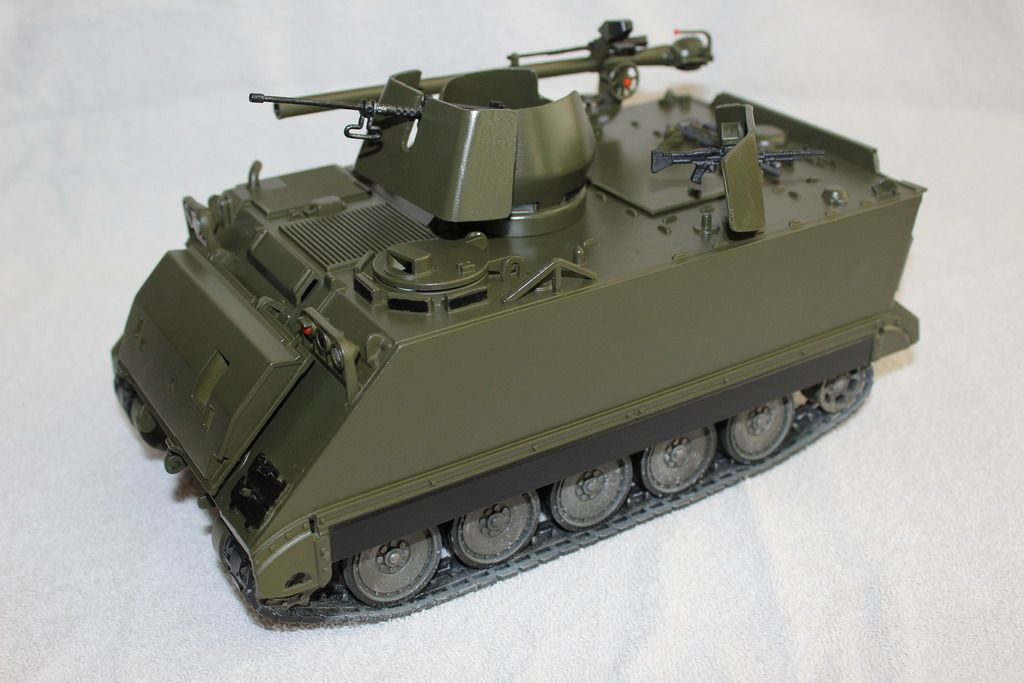
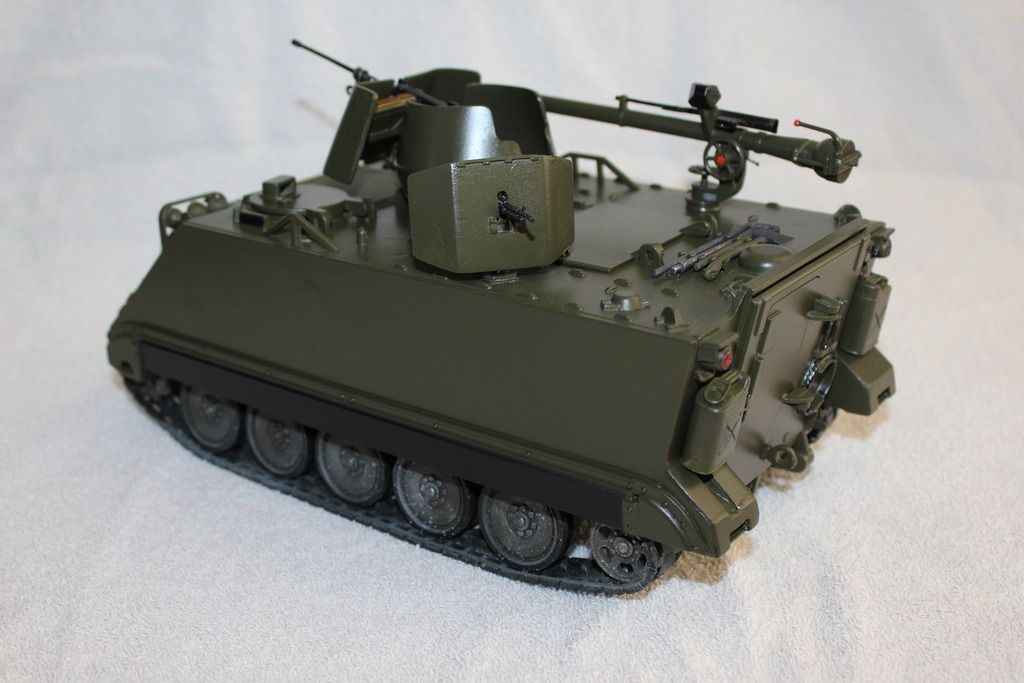
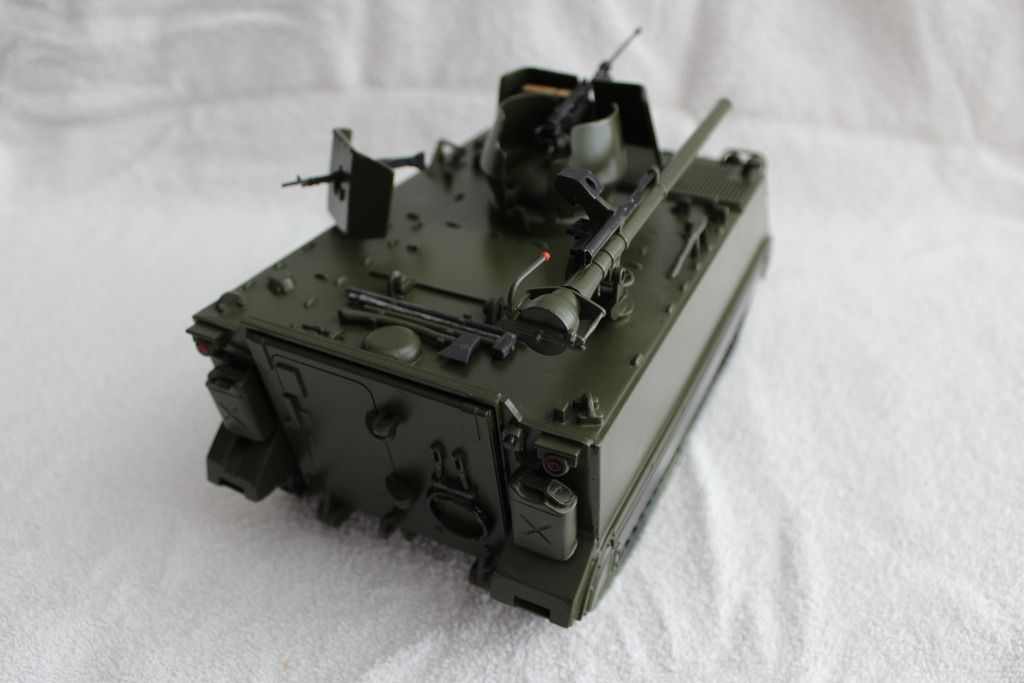
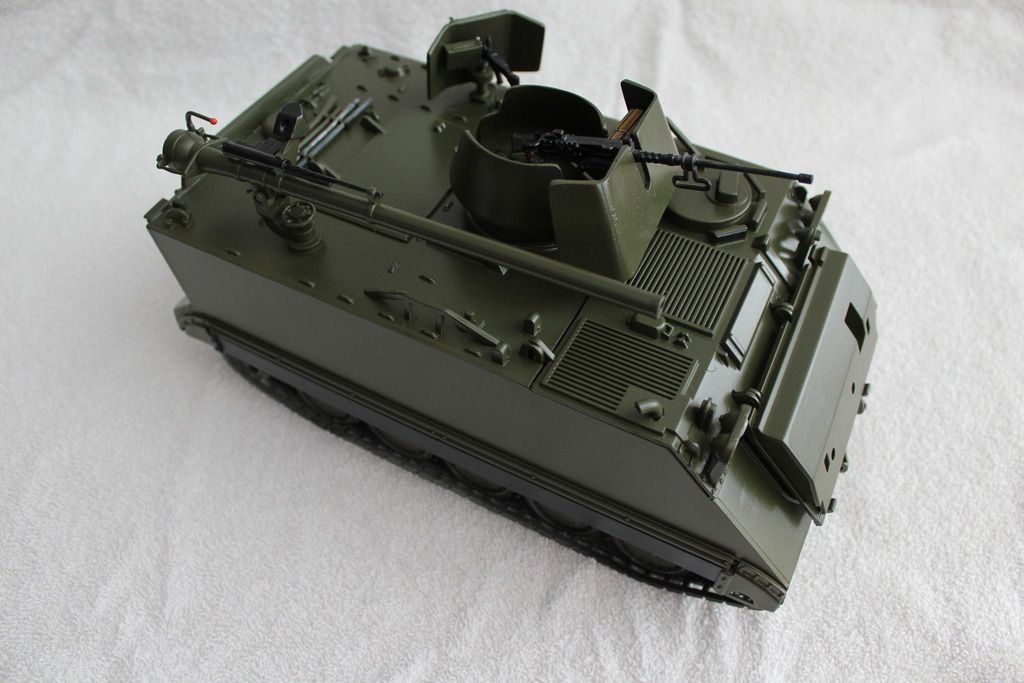
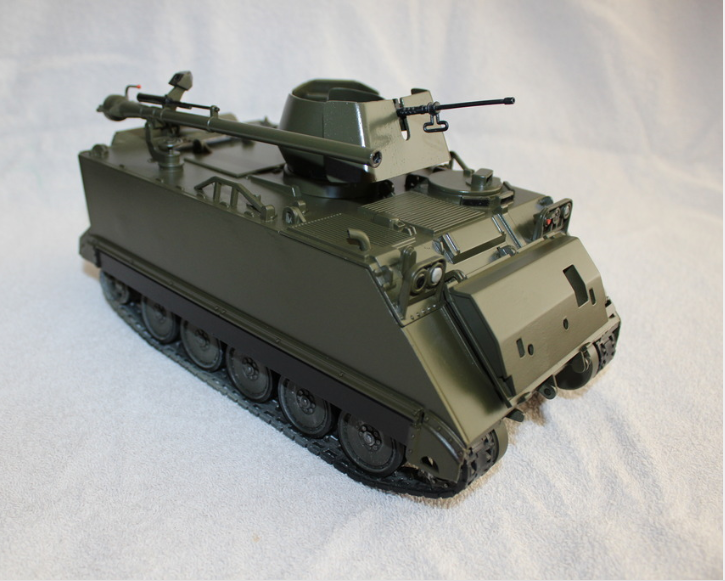
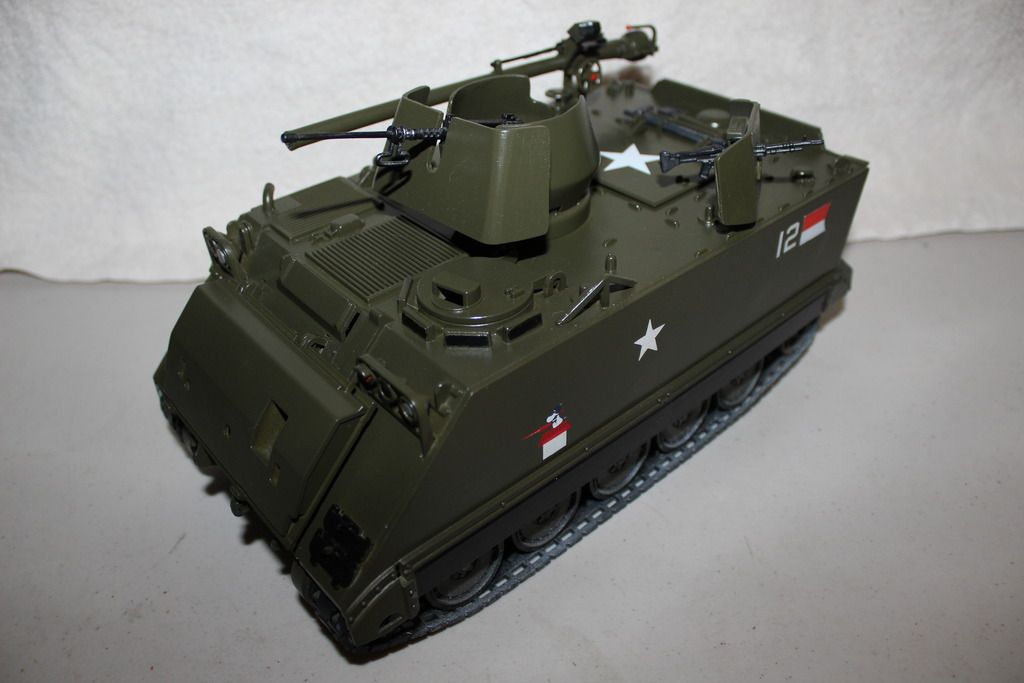
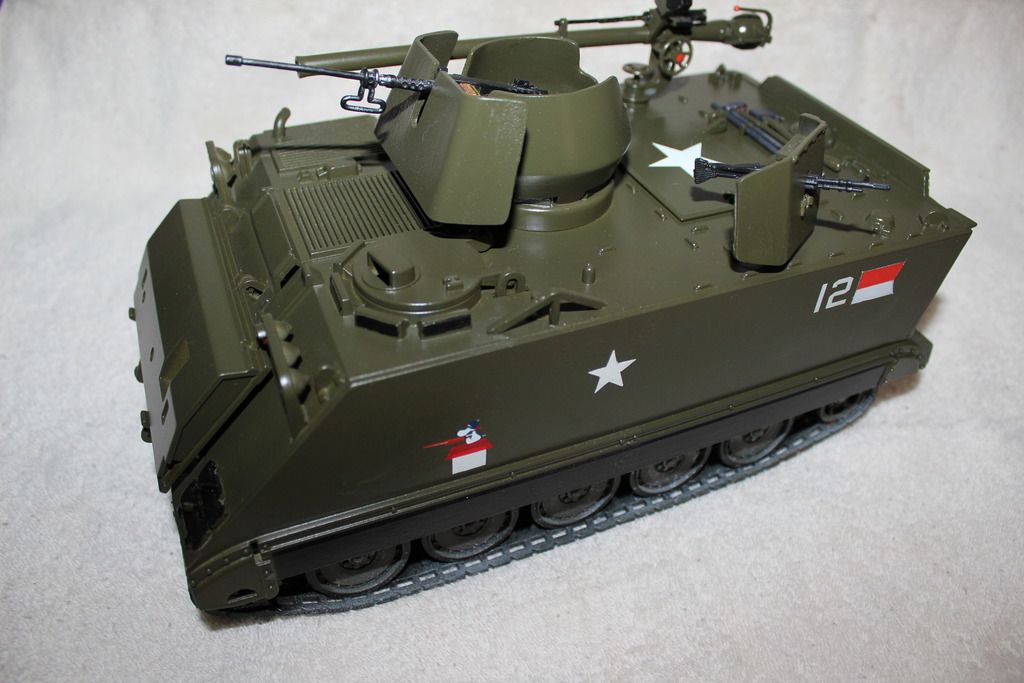
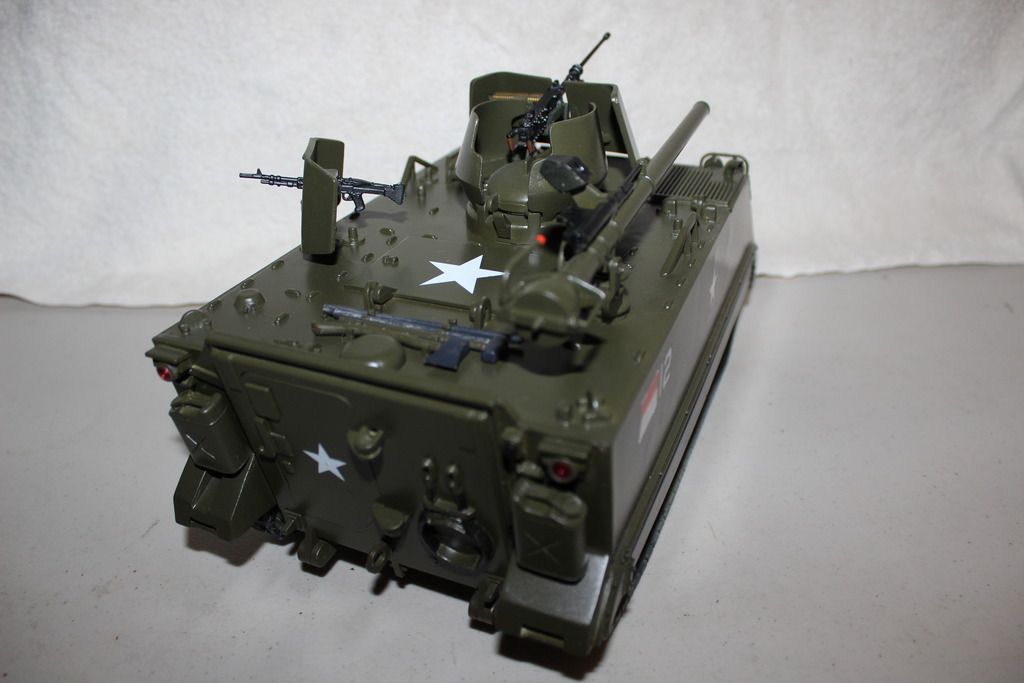
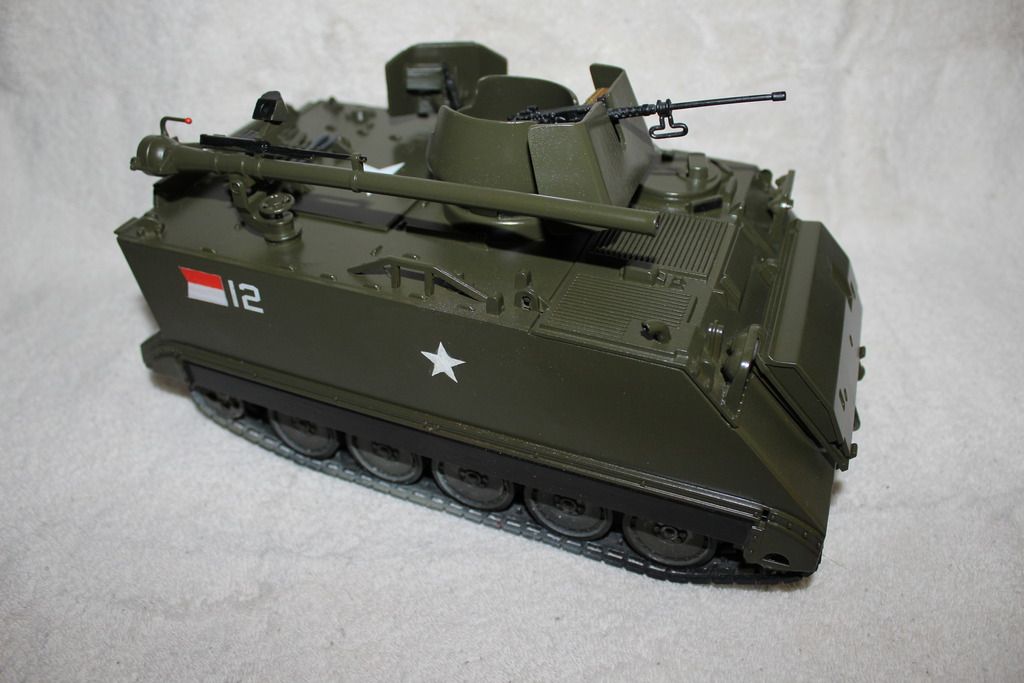
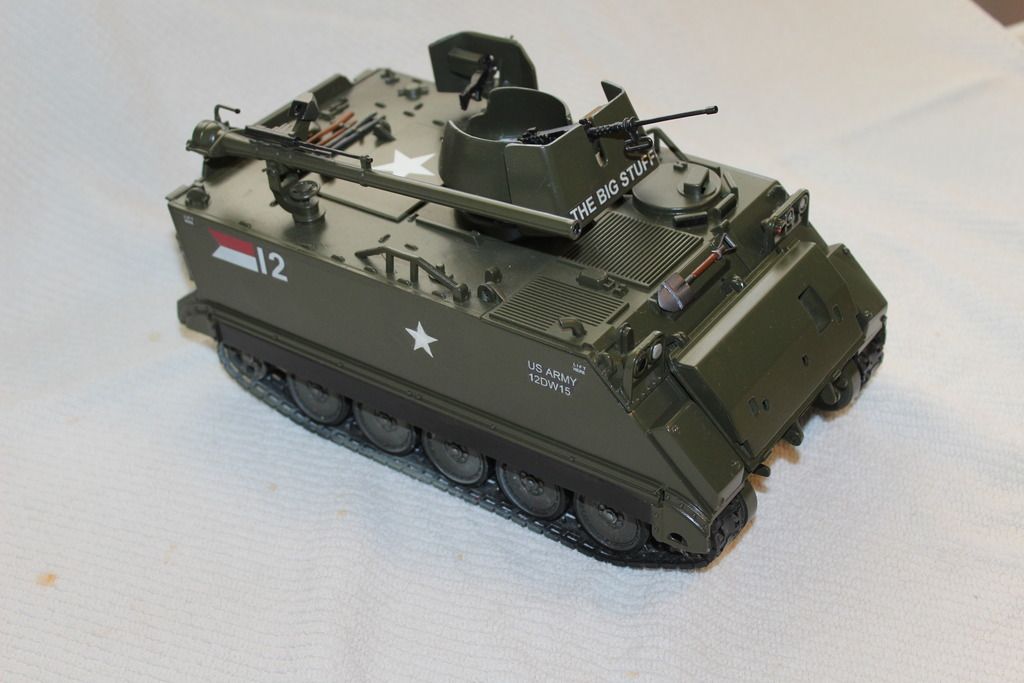
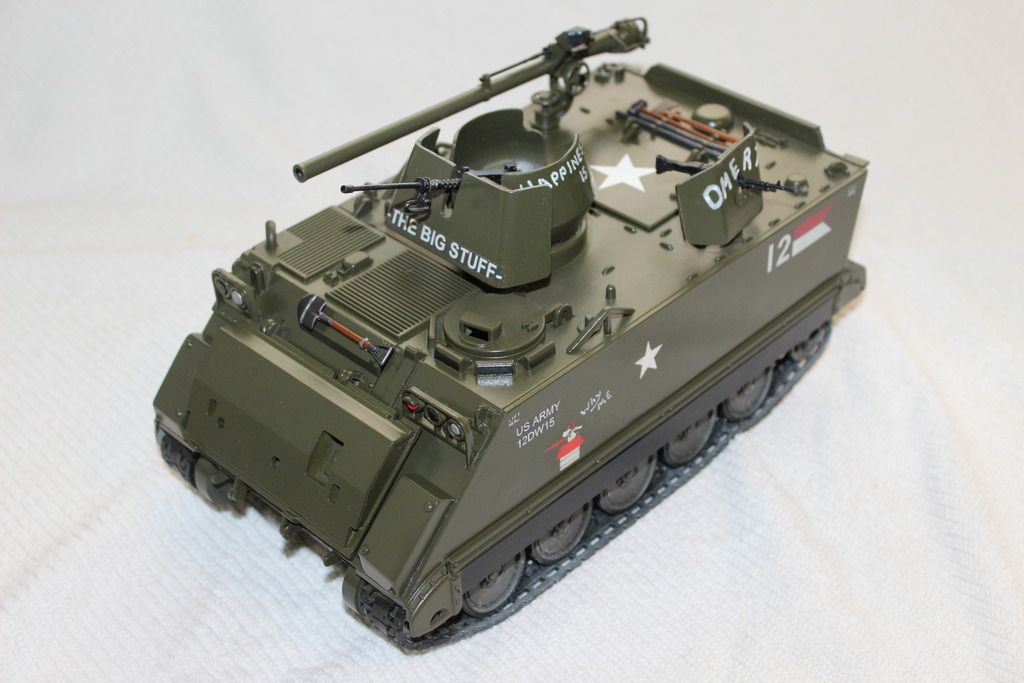
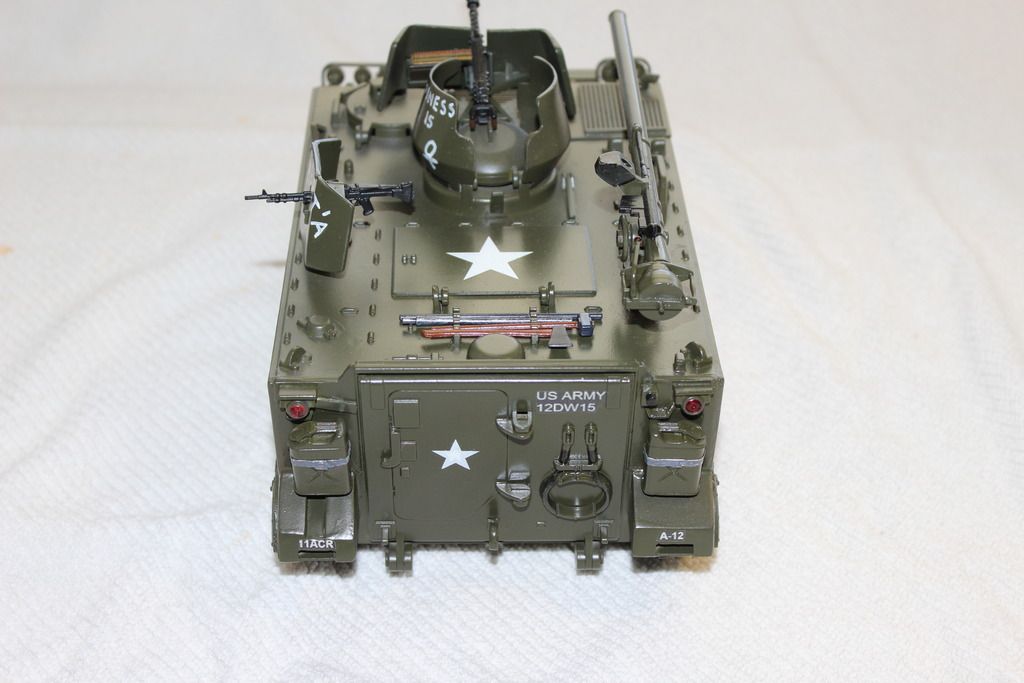
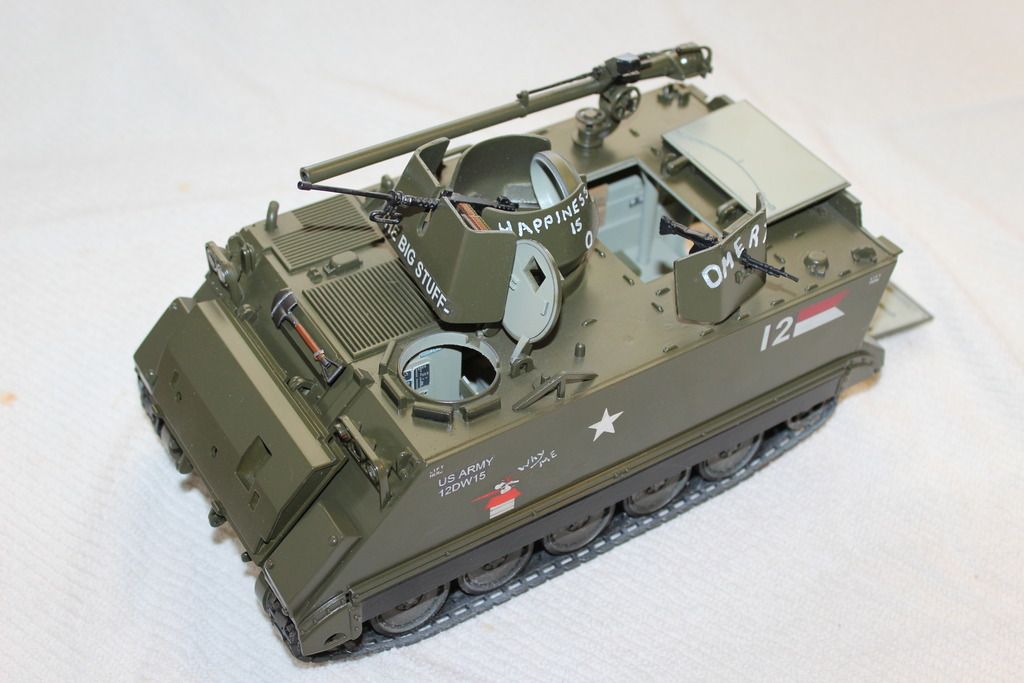
Vietnam era M113 with 106mm recoilless rifle

Pickelhaube

Replicator of Toys
Officer Club
Mar 15, 2011
1,602
124
63
65
New Orleans
I dig them too!

Man, PH sent you the turret and shield? He wasn't so forthcoming with me...

That's ok, as I wasn't looking to do an FMC converted ACAV but a mech troop carrier which commonly used a different style turret.

The new paint job looks great! I can't wait to see the recoilless mounted on there.

I sent him some old stock that had some issues that I found digging around for some other stuff.

I have one more bell turret that has issues as well but salvageable.

The bell turret could be used on a HUMVEE as well painted OG green on a desert colored HUMVEE

Looking GREAT Rudy !!
 

Vietvetson

Enlisted
Jul 9, 2013
105
14
18
San Bernardino, California
Thanks Matt, It really makes a huge difference to have the conversion parts. I appreciate the help and advice you've offered. There has been a lot of support and advice, along with shared resource information from different members which helped to make my idea for a conversion a reality.
 
Last edited:

Apache26

Enlisted
Feb 3, 2013
208
2
0
The rifle was installed when the hull was mounted to the chassis. It blends in because of the color. I think the next photos with the installed shields will make it more apparent. Thanks for looking at the photos. I will also look into making a cone for the M2.

I see it now. I was looking a this at work previously and sometimes the photos don't always load. Again, great work!
 

Vietvetson

Enlisted
Jul 9, 2013
105
14
18
San Bernardino, California
I assembled the shields and the bell turret. They went on nicely, Pickelhaube did an excellent job. The paint suggestion and semi-gloss coat made by Apache26 worked. It darkened the paint and gave it what I believe was a proper finish. I will post photos. The last thing left is to decal and decide if I want to weather it or not.
 
Last edited:

Vietvetson

Enlisted
Jul 9, 2013
105
14
18
San Bernardino, California
I did not have much success printing my own decals. I ordered some Archer dry transfers for a 1/16 scale Pershing tank. I noticed the national symbol (white 5 point star) was different sizes on the M113 from small to very large so I am not worried about the scale difference. I have not decided on what unit I want to use yet. I may take another shot at printing the unit identification and vehicle ID. I am open to suggestions.
 
Last edited:

K-Tiger

All solutions are final.
Founder
Mar 14, 2011
31,266
190
63
That's looking really sharp. A Vietnam era 113 is what 21st should have given us in the first place.
 

Contraband

Controlled Substance
Mar 26, 2014
2,159
22
38
I did not have much success printing my own decals. I ordered some Archer dry transfers for a 1/16 scale Pershing tank. I noticed the national symbol (white 5 point star) was different sizes on the M113 from small to very large so I am not worried about the scale difference. I have not decided on what unit I want to use yet. I may take another shot at printing the unit identification and vehicle ID. I am open to suggestions.

^
This guy can print you off pretty much anything you need

https://m.facebook.com/profile.php?id=240404062806310&tsid=0.3714070268906653&source=typeahead

He's who most guys get their waterslides from,including myself.
 

Apache26

Enlisted
Feb 3, 2013
208
2
0
I did not have much success printing my own decals. I ordered some Archer dry transfers for a 1/16 scale Pershing tank. I noticed the national symbol (white 5 point star) was different sizes on the M113 from small to very large so I am not worried about the scale difference. I have not decided on what unit I want to use yet. I may take another shot at printing the unit identification and vehicle ID. I am open to suggestions.

For my M-113's I had to get a set of 1:35 scale decals re-sized by a guy who usually does custom 1:18 police and car model decals. It cost a ton and took a really long time, but it was important to me. The decals I had were for 2-8 Infantry (Mechanized Panthers) from the 4th Infantry Division. I served in 2-8 IN during my first Iraq tour and wanted to pay my 1:18 homage to them in Vietnam.

For this reason, it was good that I didn't get Pickel's ACAV set since 2-8 didn't use the ACAV turrets and shields.

I'm interested in finding out how you end up getting your decals and which unit you choose.
 

Vietvetson

Enlisted
Jul 9, 2013
105
14
18
San Bernardino, California
I'm still kicking that around. I have looked at a number of pictures and have been trying to find something that would not be too difficult to duplicate yet still look good. I will let you know. Thanks again for the help.
 

Vietvetson

Enlisted
Jul 9, 2013
105
14
18
San Bernardino, California
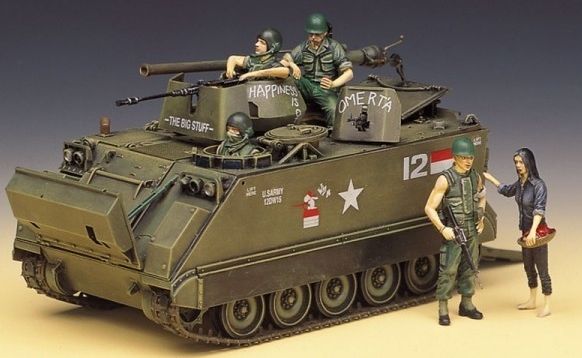
I decided to go with these markings for my M113. The picture is of a 1/35 scale model. I actually located some decals and dry transfers I can use for the majority of the M113. I am going to hand paint the words on the gun shields and bell turret. I already started decaling my M113 and will post progress photos soon.


Vietvetson

Enlisted
Jul 9, 2013
105
14
18
San Bernardino, California
Here are the first decals and transfers I put on the M113. The decals I used were from my past modeling. I used an Archer dry transfer from a 1/16 M26 tank for the star on the large hatch next to the recoilless rifle and m60. The remainder of the decals were from different aircraft decal sheets. The Snoopy on the dog house was a combination of five cut-up decals. I spray painted the red and white insignia flag on both sides. I tried different methods for the "U.S. ARMY 12DW19" and the "LIFT HERE" wording without any luck. Any suggestions would be greatly appreciated. I still have to hand paint the words on the gun shields and bell turret as soon as time permits.


Almost there...
 

K-Tiger

All solutions are final.
Founder
Mar 14, 2011
31,266
190
63
Damn it. I had a set of 1:16 Pershing decals that had the "Lift Here" markings.
 

Apache26

Enlisted
Feb 3, 2013
208
2
0
I may have extra markings from my decal sets. If you're interested, I'll take a look.
 

Vietvetson

Enlisted
Jul 9, 2013
105
14
18
San Bernardino, California
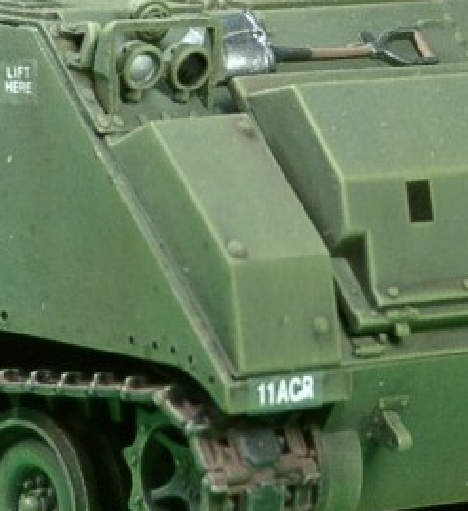
I will be posting new photos of my Vietnam M113A1. I worked on making decals for some of the letters and numbers that I could not duplicate. I also made new red and white Calvary flag decals, since I was not happy with the way the painted on ones turned out. This meant I had to sand off some of the ones I sprayed or hand painted on and repaint and coat the tank (for the 5th time). I also made the blisters for the front of the tank above the tracks. I have no idea what blisters are for and can't find them in any reference photos of any M113A1 from Vietnam. If someone out there knows what they are for I would be interested for just personal knowledge. Here is a photo of what I am talking about.


I will start weathering the tank some time this week.
 

K-Tiger

All solutions are final.
Founder
Mar 14, 2011
31,266
190
63
As best as I can tell it's supplemental floatation.


Apache26

Enlisted
Feb 3, 2013
208
2
0
That's correct. Later in the war an additional titanium plate was added to the bottom of the M-113. To offset the additional armor during fording operations, these flotation panels (I can't think of the technical term) were added to the trim vane and the front of the hull. If I recall correctly, there were also side panels that were never used. You can see plenty of photos of tracks with the panel on the trim vane but without the accompanying panels on the front glacis. Sometimes you see only one on there and I've seen photos in which the panels were seriously dented. I'll post the reference pics I used for my M-113 that shows tracks with the panels in various states of repair.
 

Apache26

Enlisted
Feb 3, 2013
208
2
0
I forgot to post the photos...I'll try and remember tonight.

How did the decals I sent work out? Did you get the skirt off? How did you do that?
 
Last edited:

Vietvetson

Enlisted
Jul 9, 2013
105
14
18
San Bernardino, California
I forgot to post the photos...I'll try and remember tonight.

How did the decals I sent work out? Did you get the skirt off? How did you do that?

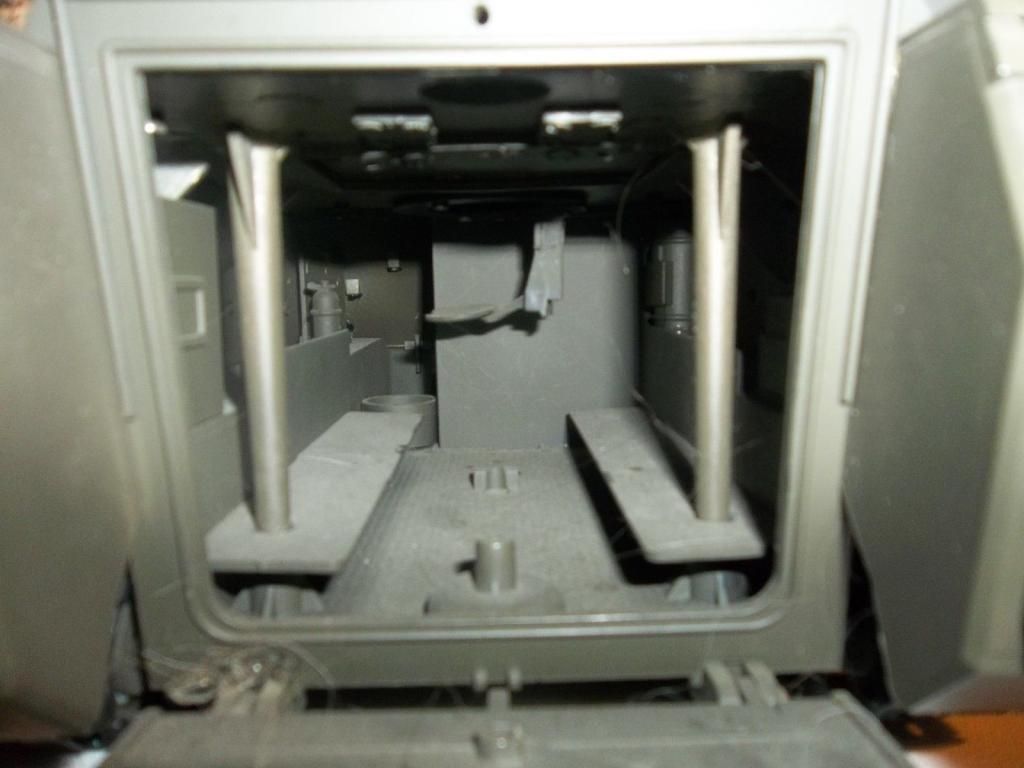
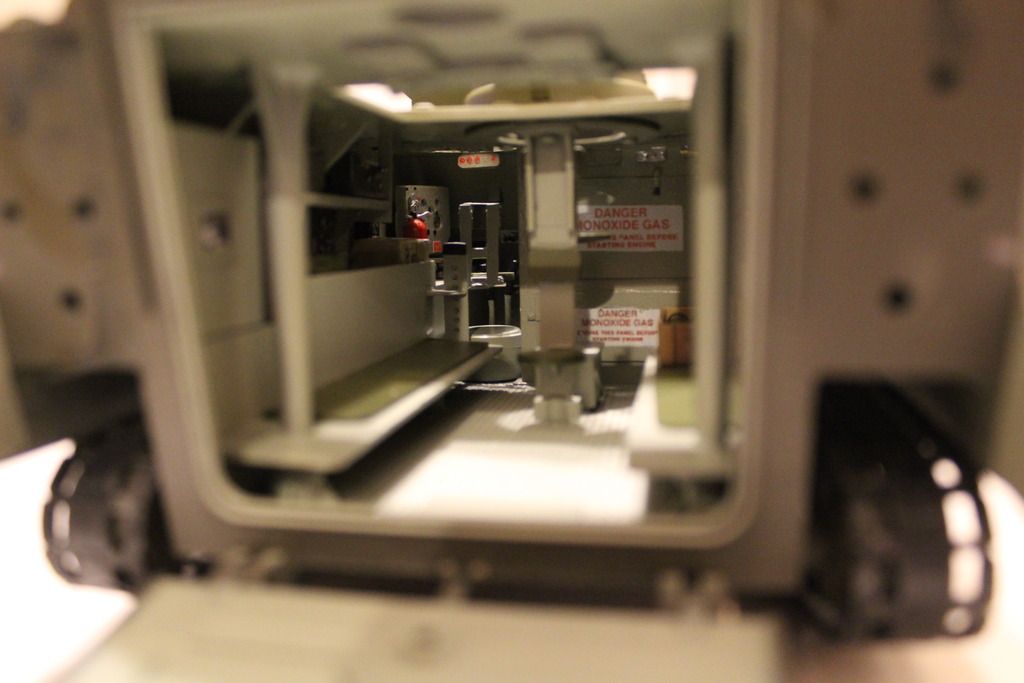
I used a few of the appropriate decals for my M113. I left the skirt on my tank since it is die cast and not plastic (difficult to remove, lots of grinding). I was asked what I did to backdate my M113 APC. Here is a list.

Removed from exterior

External fuel tanks
All storage gear and added cargo
Rear cleats
Exhaust
Smoke launchers
CIP panels
Spare track

Removed metal hull and plugged and filled holes (around 35-40)

Scratchbuilt for exterior

Rear fenders
Exhaust tube
Flotation devices (front above tracks) not pictured yet
Rear accessories as seen in update #12, prior to paint.
relocated gas cap to top of hull

Removed from interior

Fire extinguisher (for detailing)
Instrument panel (for detailing)
Heater (for detailing)
Cut out molded stand at rear of bay
Exhaust canister (to reposition and detail)

Scratchbuilt for interior

New instrument panel cover with instrument decals
Engine access hatches
Extended bulkhead
Added steering handles and gas pedal
Added shelves
Added radio equipment
Plumbed and added detail to heater
Made drivers seat and rear facing jump seat
Passengers seat cushions
Decaled interior after painting
Added drive shafts
Detailed engine (wired and plumbed)

Main exterior Conversion Parts

Rear fenders (Scratchbuilt)
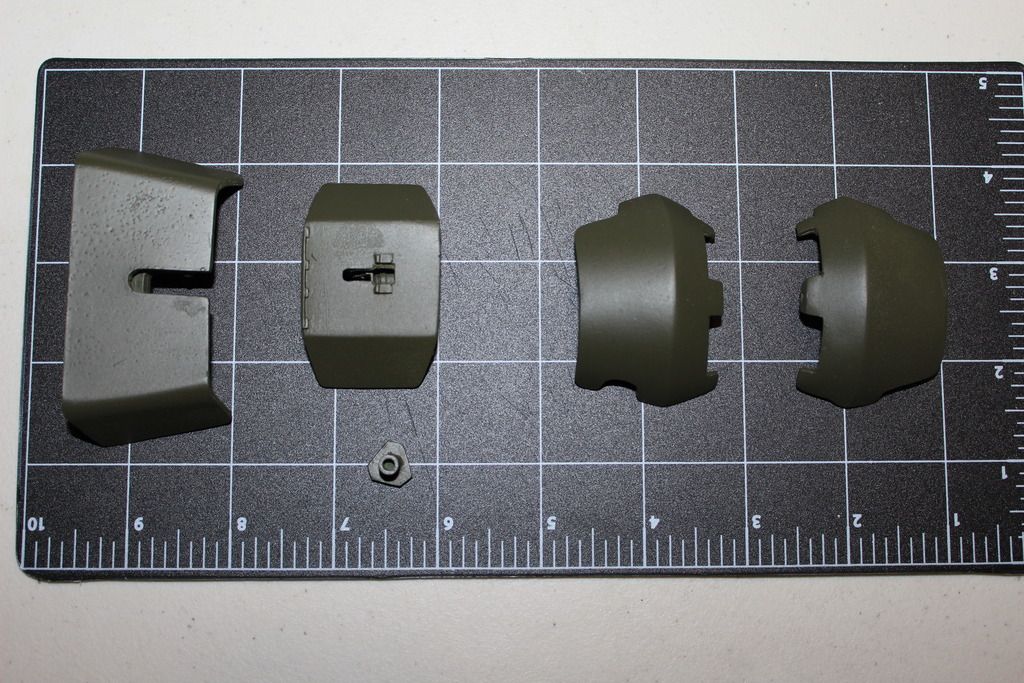
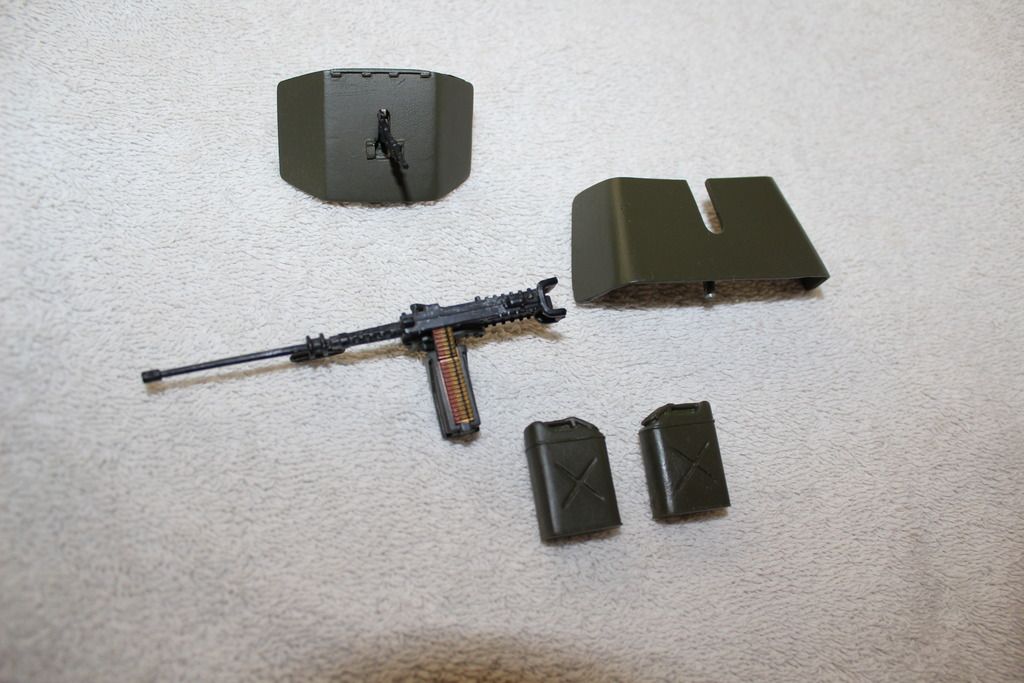
.50 caliber gun shield (Picklehaube)
.60 caliber gun shield (Picklehaube)
Bell turret for .50 caliber (Picklehaube)
106mm recoilless rifle (from BBI Super Humvee)

Decals

Interior

1/35 scale M113 decals, enlarged and printed onto decal paper

Exterior

Some decals provided by Apache26 and the rest from miscellaneous decal sheets.

Finally

A lot of planning, reference material, advice and help from forum members, patience and an understanding wife.
 
Last edited:

Vietvetson

Enlisted
Jul 9, 2013
105
14
18
San Bernardino, California
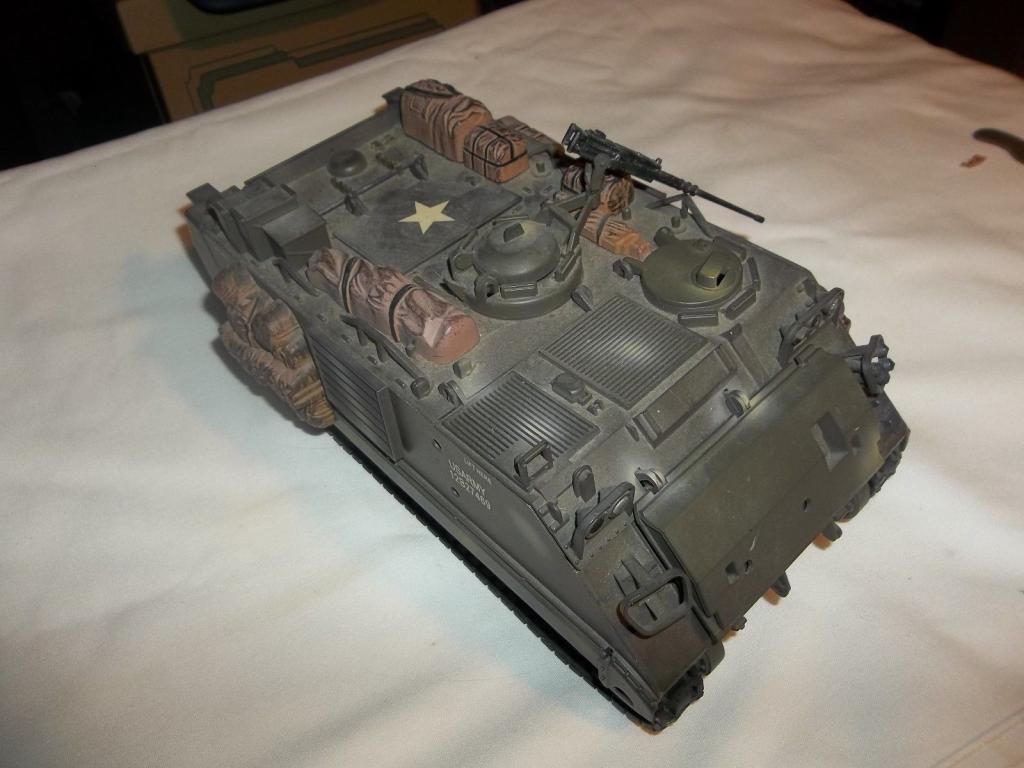
I added some accessories and did some final touches to my M113A1 with recoilless rifle, I'm somewhat happy with the outcome. I started reading up on how to weather armor, since I have only done airplanes before. You armor guys let me know what you think.


I really want to thank everyone who contributed some of their knowledge and offered up opinions to make this model a reality for me. Thumbs up guys.....
 

K-Tiger

All solutions are final.
Founder
Mar 14, 2011
31,266
190
63
Outstanding. A little "museum fresh", but that's all right.
 

Vietvetson

Enlisted
Jul 9, 2013
105
14
18
San Bernardino, California
Outstanding. A little "museum fresh", but that's all right.

I'm still researching on how I am going to weather it for Vietnam. I am also not happy with the way the floatation blisters on the front turned out:crying:. The're too small, so I am going to scratchbuild another set to replace them before I get started on the weathering. I also plan on adding a few soldiers, ration boxes (Courtesy of Apache26), ammo cans, packs and some odds and ends to give it the "in field," look. I am open to all suggestions and opinions.